本文基于travis CI自动部署Hexo到github page
简介
前面已经介绍了如何使用Hexo配合github page搭建自己的blog。
你会发现每次需要发布一篇新的文章至少需要两步:
- 提交代码到hexo源码库
- 发布到github.io仓库
虽然已经很简单了,但是还有没有办法减少工作量?
答案是:有!就是今天要讲的。
解决的问题是:完成第一步:提交代码到hexo源码库,利用持续集成构建工具自动发布。
持续集成:continue Integration.
有工具:jenkins, travis CI等
travis CI
travis CI的优缺点就不用讲了,主要是github和它配合起来,很容易。
参考下面2位先驱的文章基本可以搞定,但年代有点久了,travis CI也已经更新了,我就罗列下我遇到的问题。
基于Travis CI实现 Hexo 在 Github 和 Coding 的同步部署
手把手教你使用Travis CI自动部署你的Hexo博客到Github上
1.登录travis-ci
使用github账号登录https://www.travis-ci.org/
我发现还有这个网站https://travis-ci.com/有兴趣的可以试试
2.选择你的项目设置

前往https://github.com/settings/tokens/new生成一个Personal access token
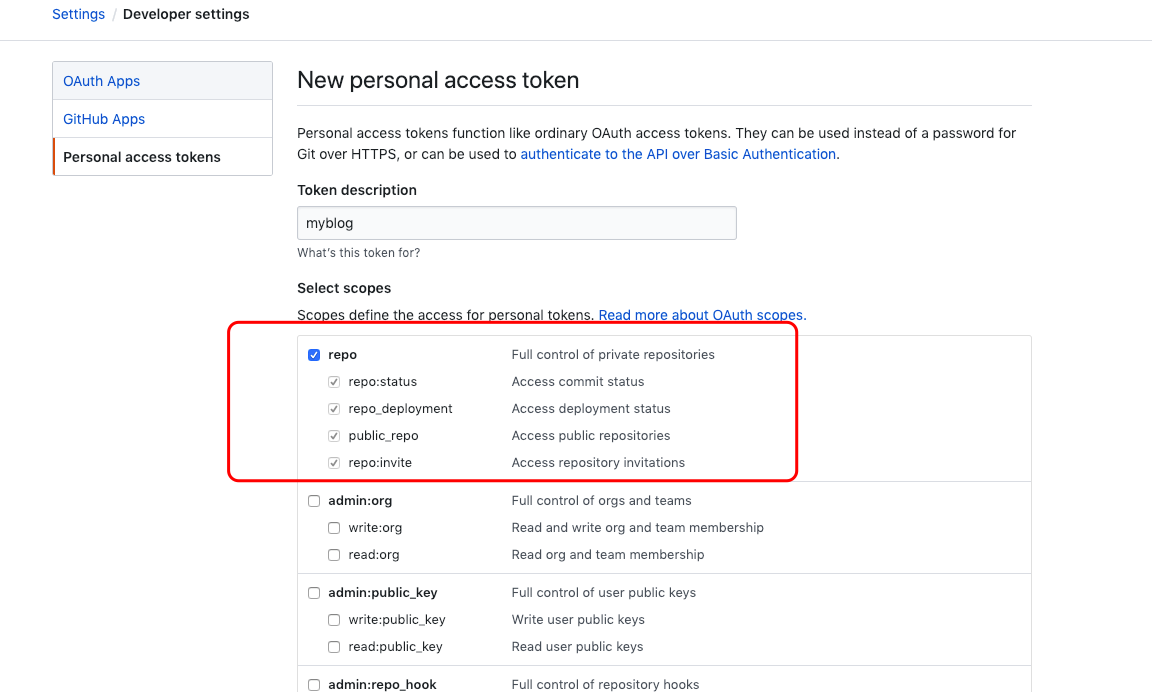
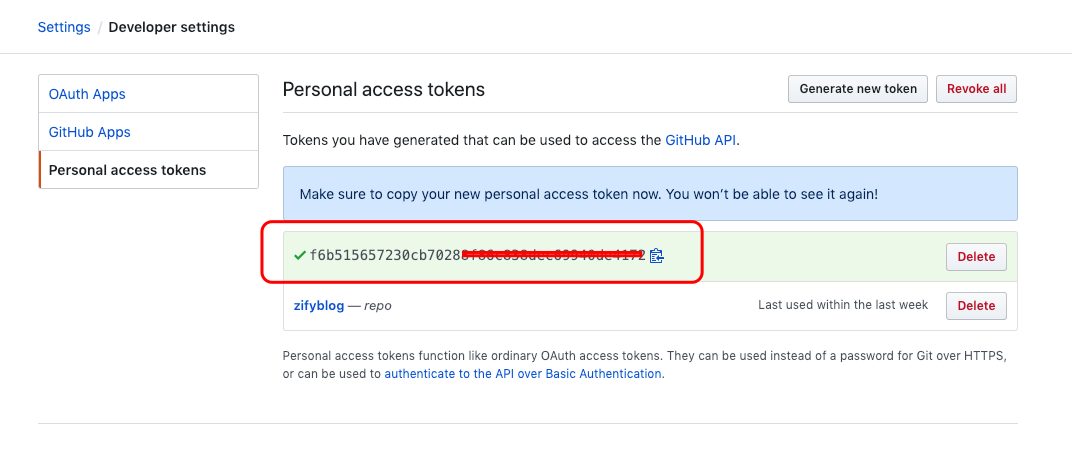
请记住这个token,退出这个页面就没了,下个页面要用
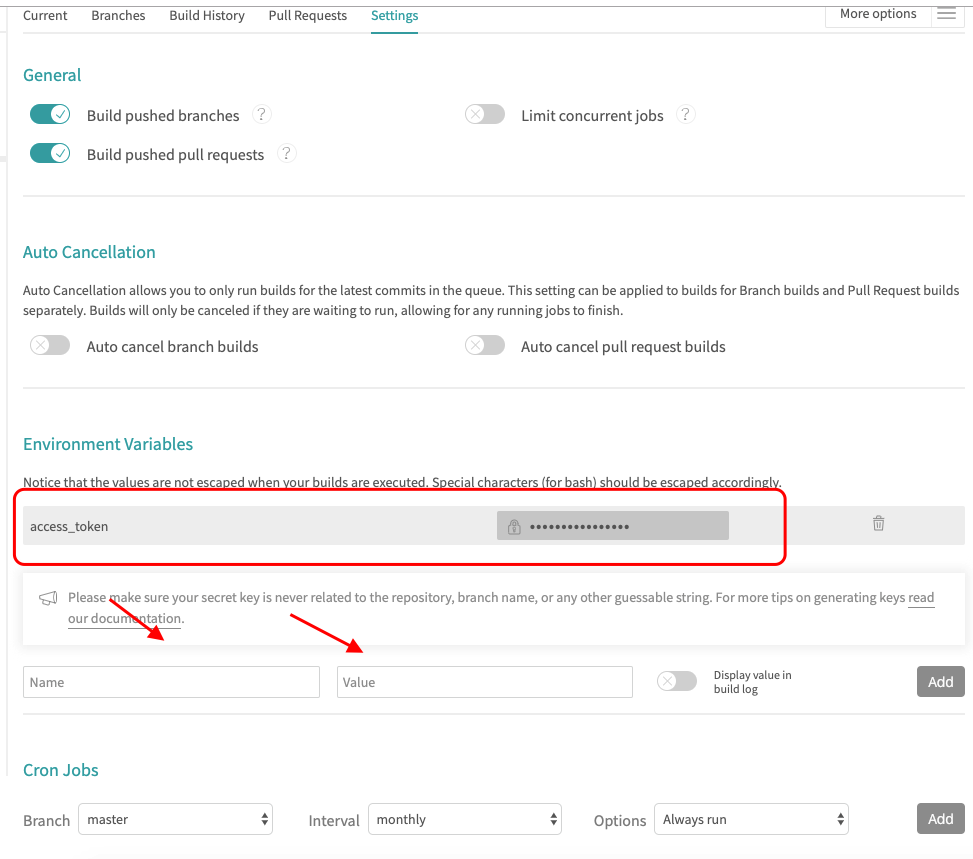
token_name随便起一个,value用刚刚生成的token,然后点击add按钮.
这个token_name会在.travis.yml脚本中用到
2.设置脚本.travis.yml
在你的源代码分支下面添加.travis.yml
1 | language: node_js |
- access_token: 在网站配置页面添加的环境变量
- GH_REF: hexo源代码仓库
- develop: 是要执行命令的分支
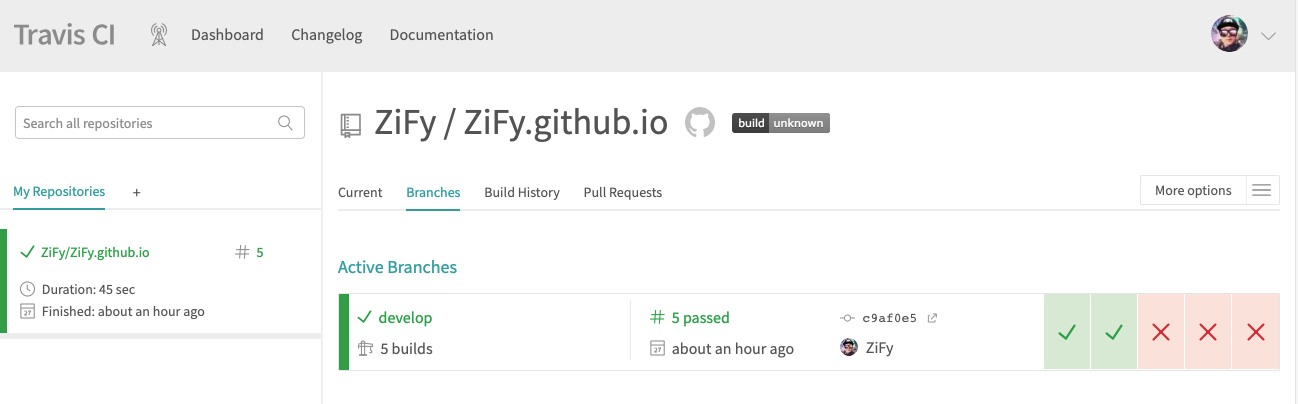
提交.travis.yml
每一次提交,都会出发travis的任务检查,检查通过,则会执行任务。
travis原理
- 监听commint提交
- 检查是否包含.travis.yml
- 检查.travis.yml的语法
- 执行任务
执行任务。
最后
时间:2018-12-7
Hexo:3.8